This post may contain affiliate links. Please see my advertiser disclosure for more details.
DIY Kitchen Seating Banquette Bench from Ikea Cabinets - Building a Frame for a DIY Banquette
- Building Seating Supports for DIY Banquette
- Spacing our DIY Ikea Banquette Cabinets
- DIY Banquette Kitchen Bench – Finishing Touches
After adding our spacer panels and putting the doors on the cabinets, we added a few finishing touches.
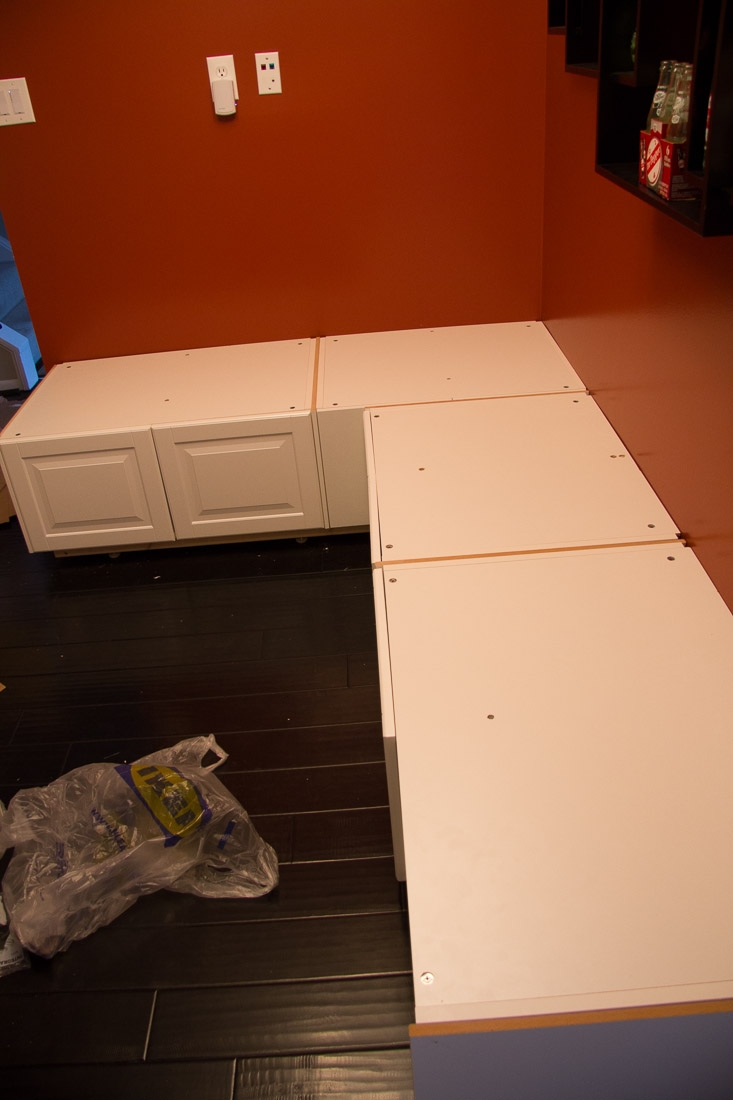
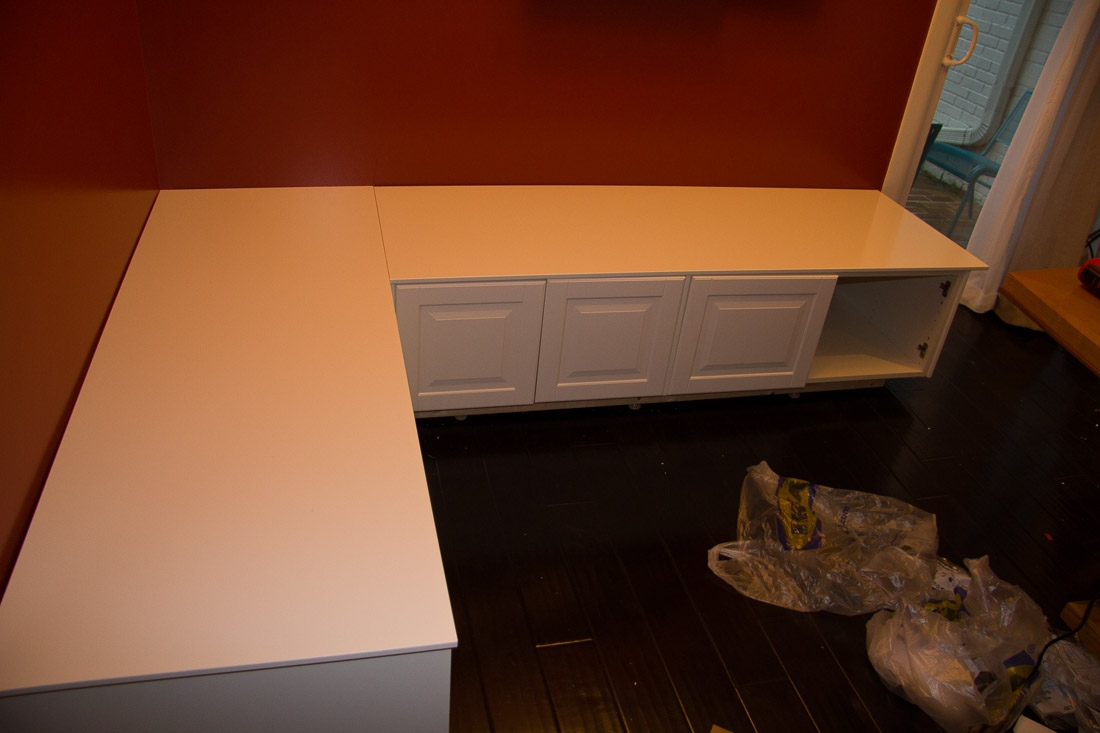
At this point, the top of our banquette looked like this (we were still missing that door on the end thanks to the damaged piece). We wanted to cover the top of the banquette with some sort of finishing panel for the top.
Top Panels
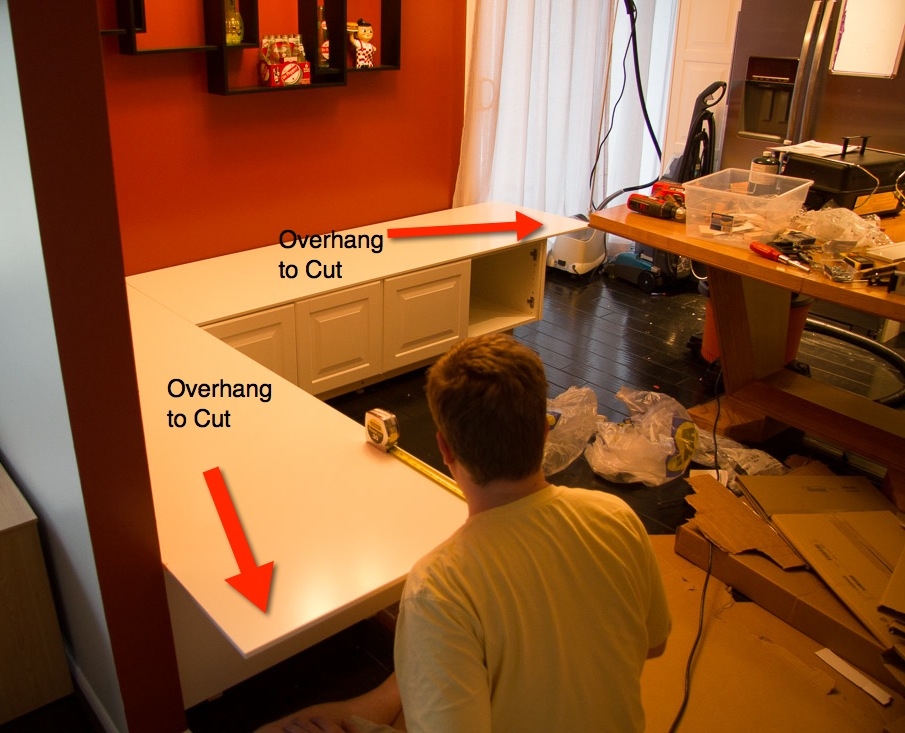
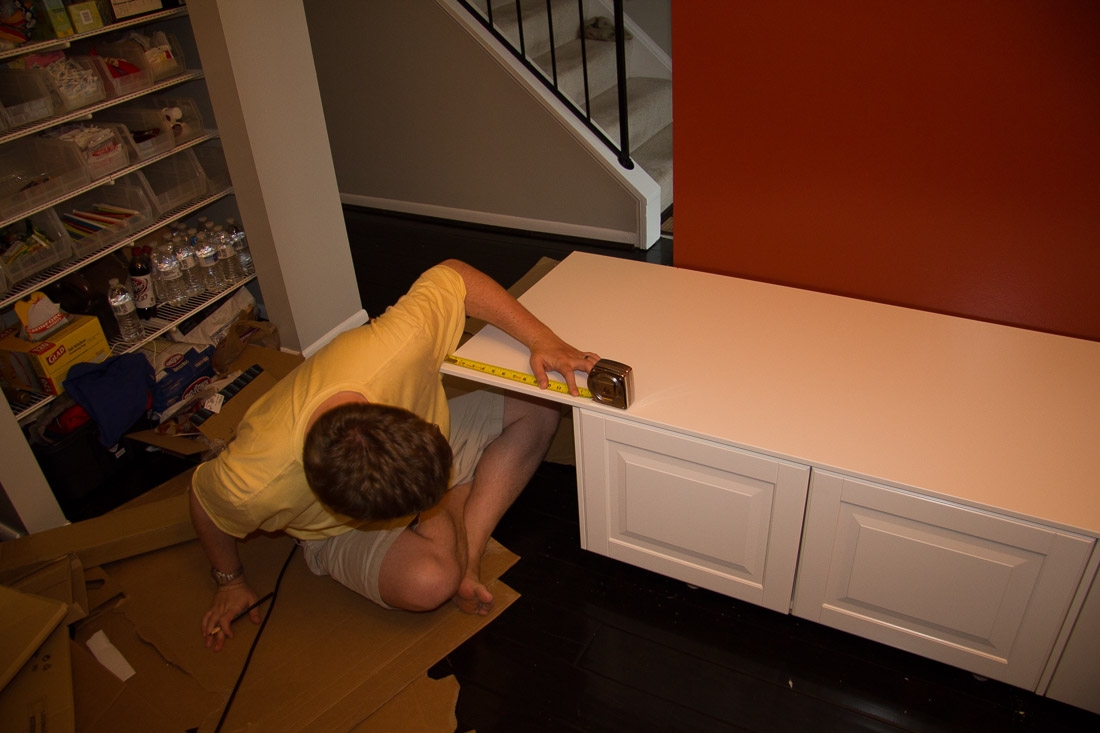
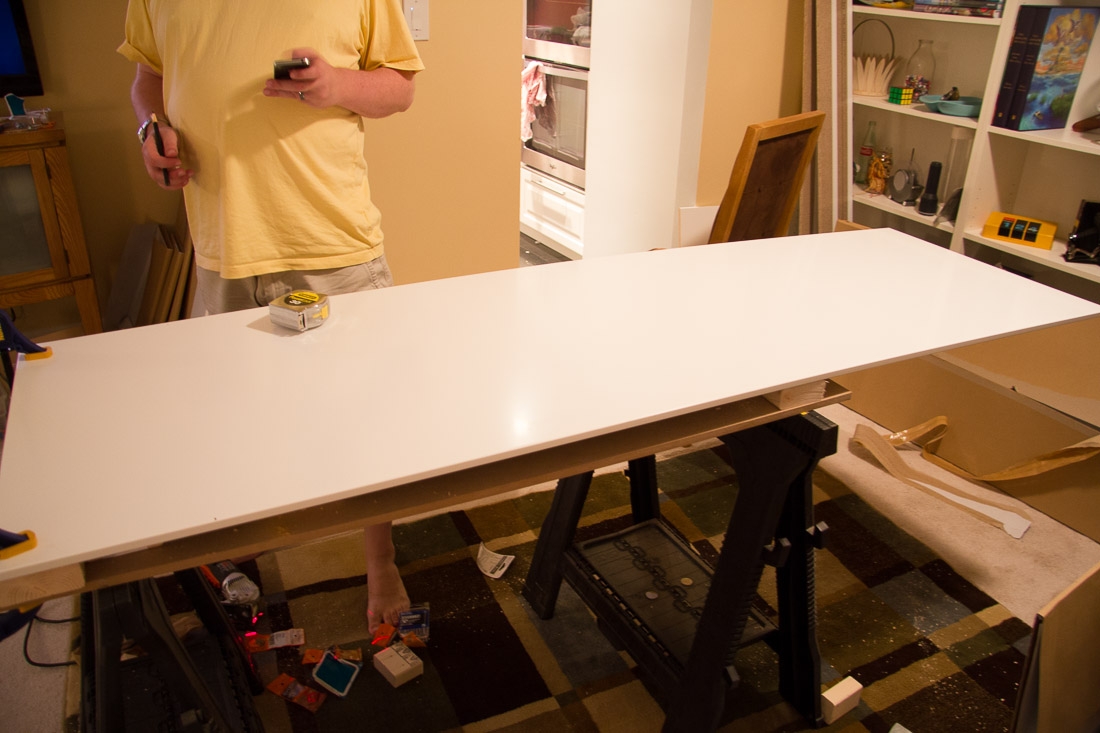
We purchased two 80 inch Ikea Perfekt panels and put them on top of the benches to get an accurate measure of where to cut them. We wanted a slight bit of overhang on each side, so we took that into account. (We use this measuring tape for practically everything and love it).
We took the panel over to our sawhorses and cut the panels to size.
We put them back on top of the banquette, and we thought it looked great.
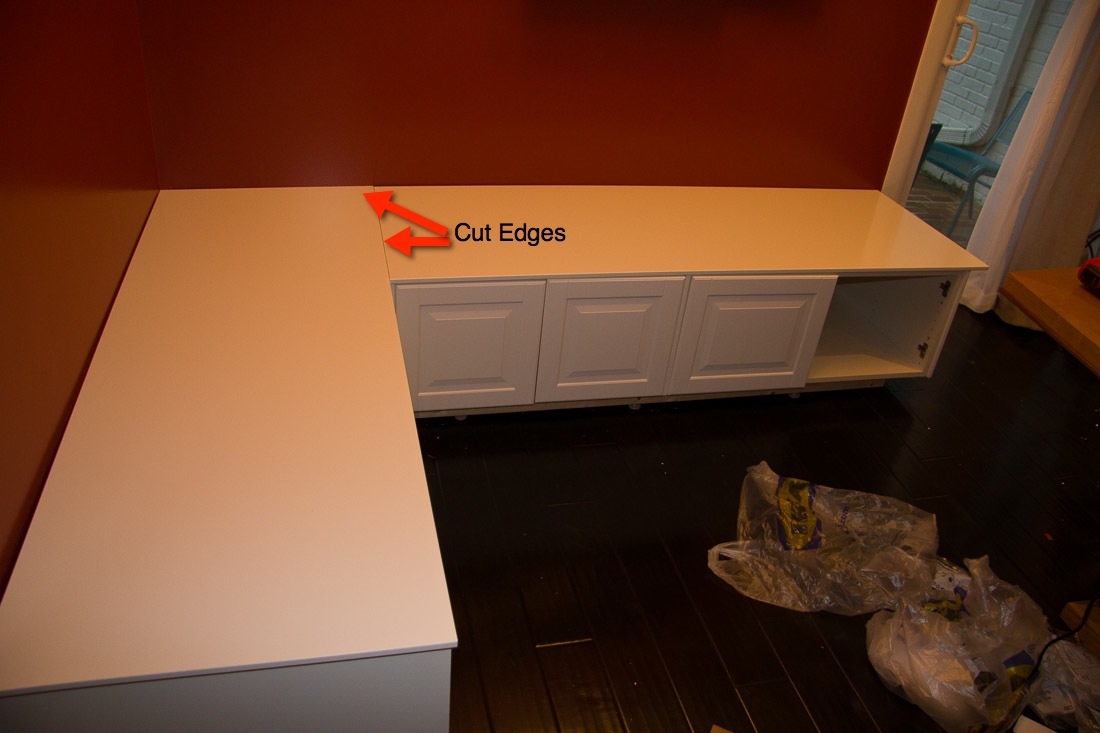
We positioned the panels so the cut edges faced the “inside,” and you wouldn’t have to see the raw edges.
Then we screwed the panels from inside the cabinets using very short screws and fender washers for fear of going right through the top of the panel. (Not pictured, sorry).
Toe Kick
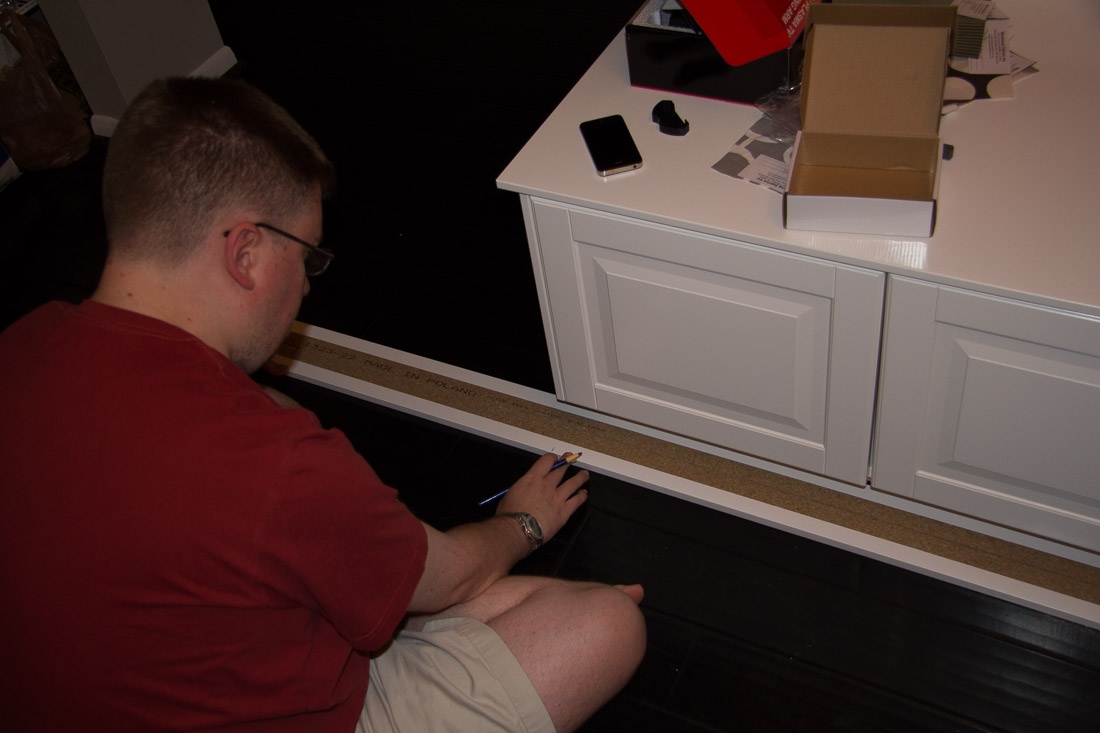
Next, we needed to add some sort of toe kick to hide the banquette’s base frame. We decided to use Ikea’s toe kick edging, called the Perfekt Plinth.
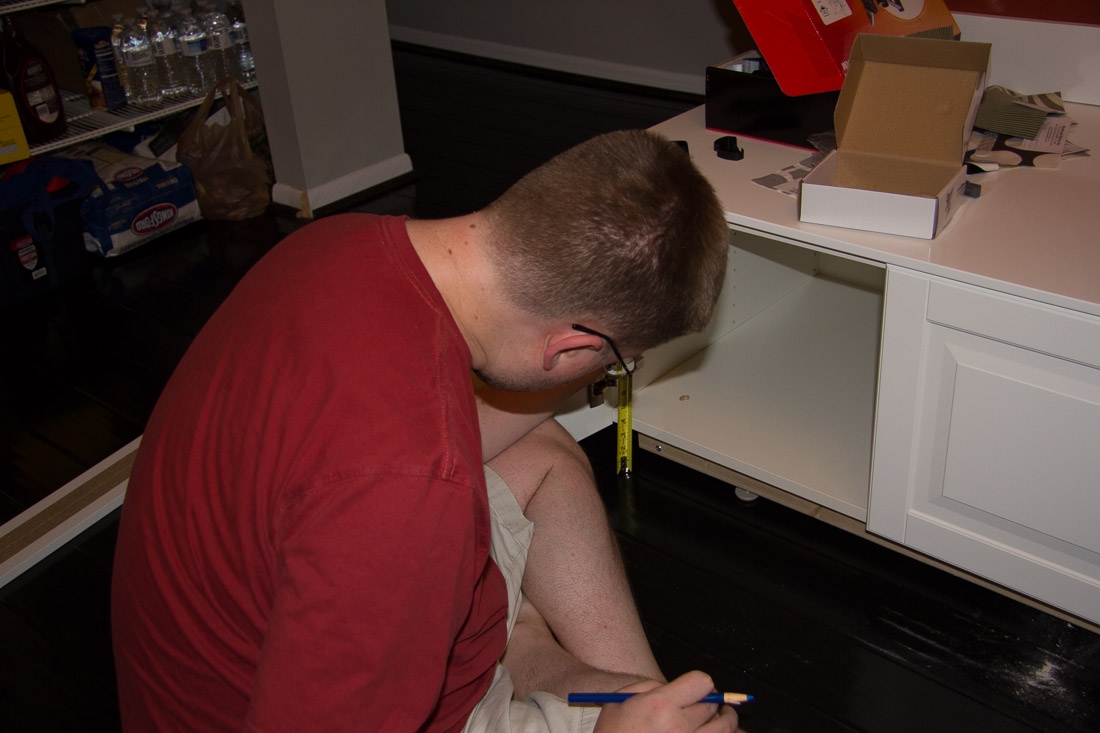
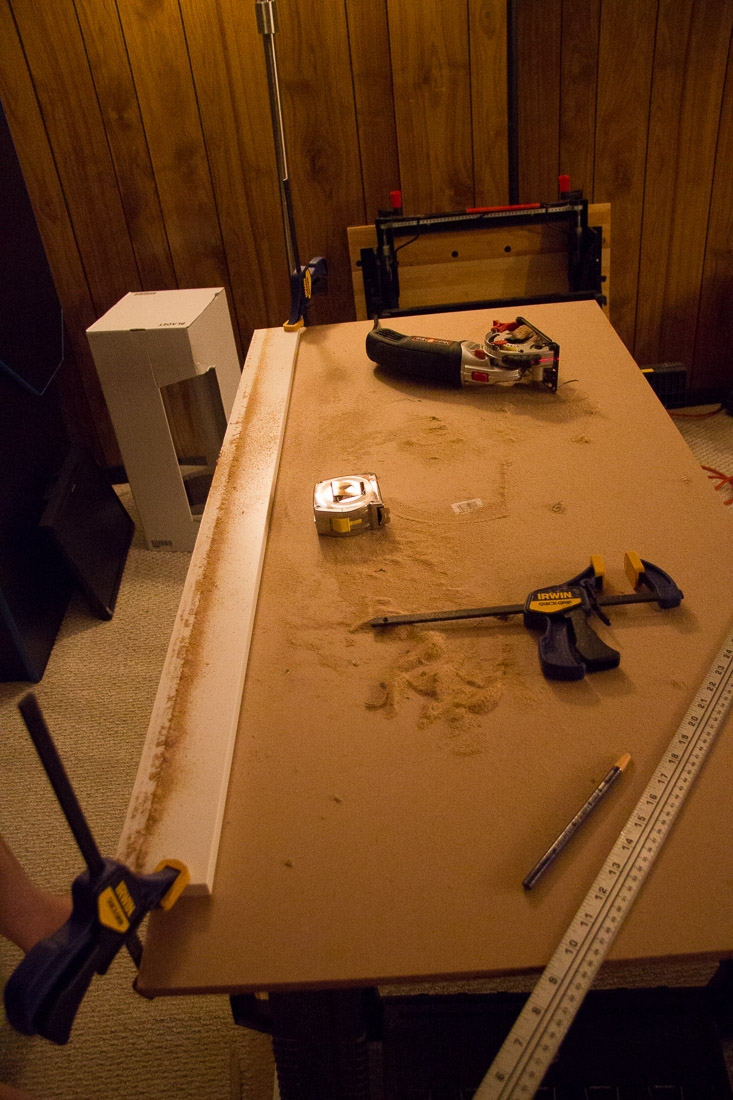
We had to cut the plinth to the appropriate length and height. So we took some measurements.
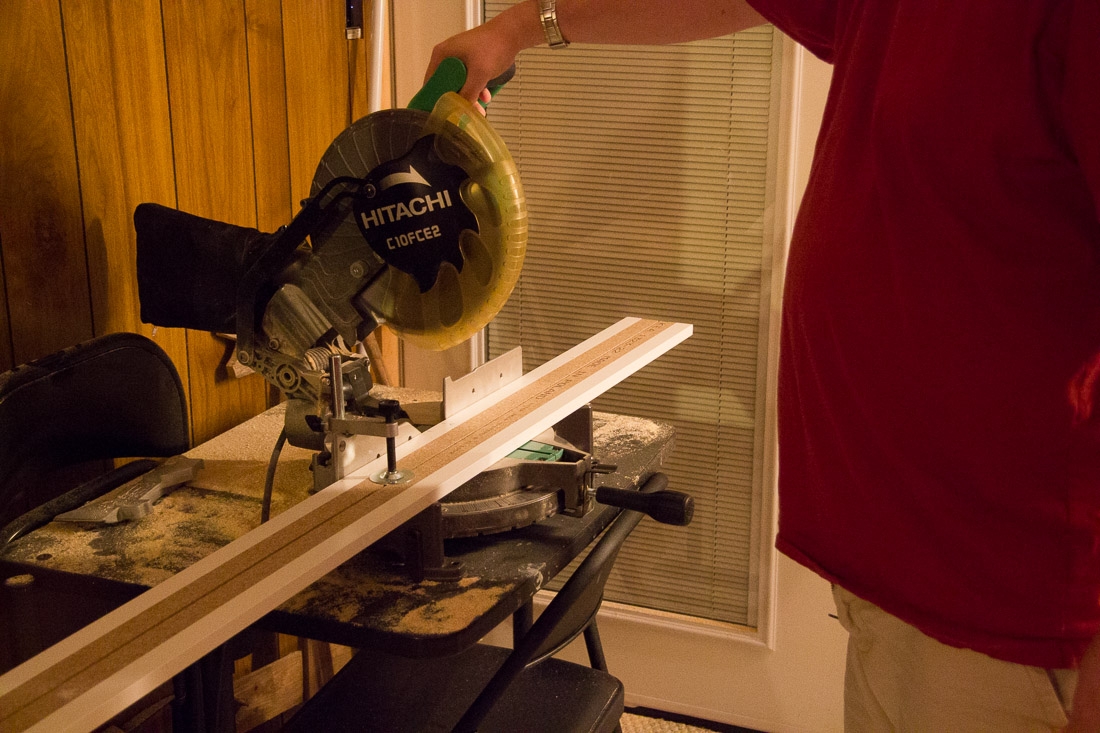
We cut it lengthwide using a miter saw.
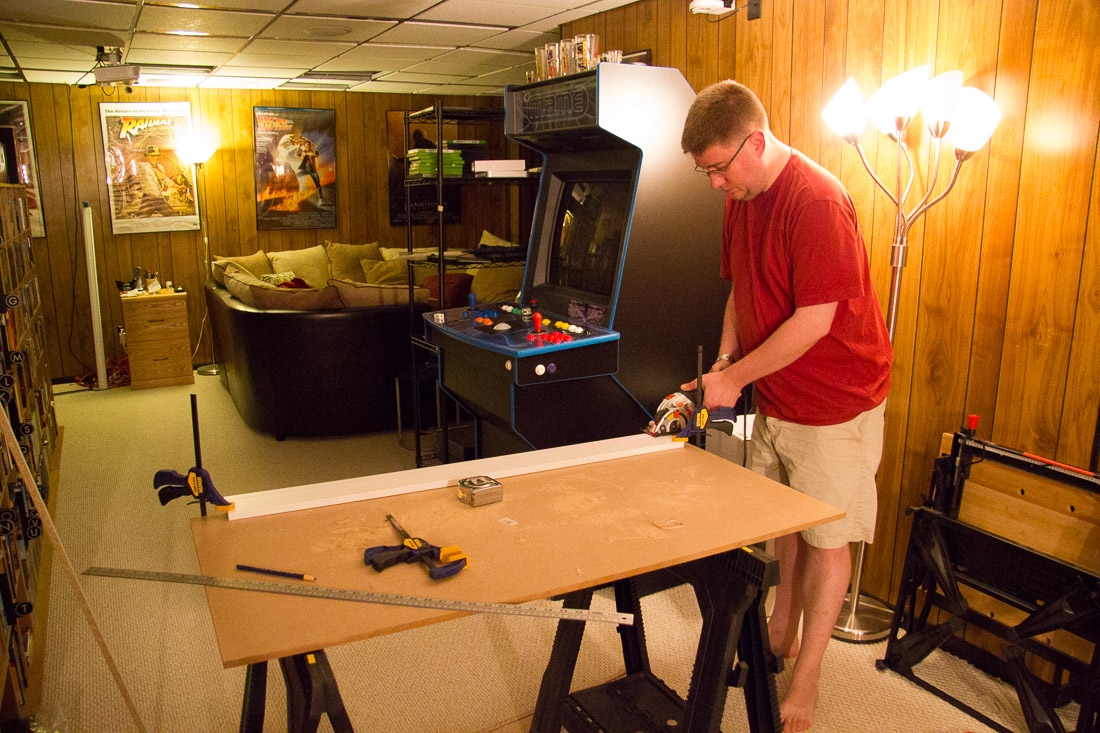
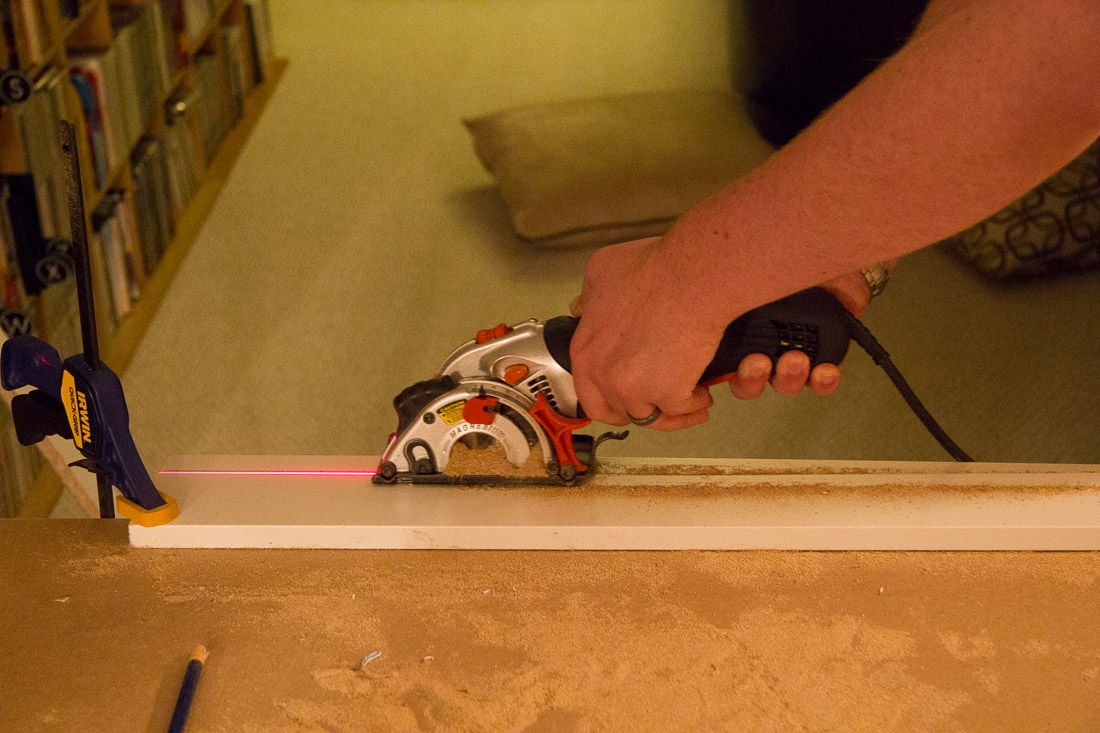
Then cut the height using a circular saw.
I’ve mentioned in previous posts that cutting Ikea pieces generates an insane amount of sawdust. The plinth was no exception.
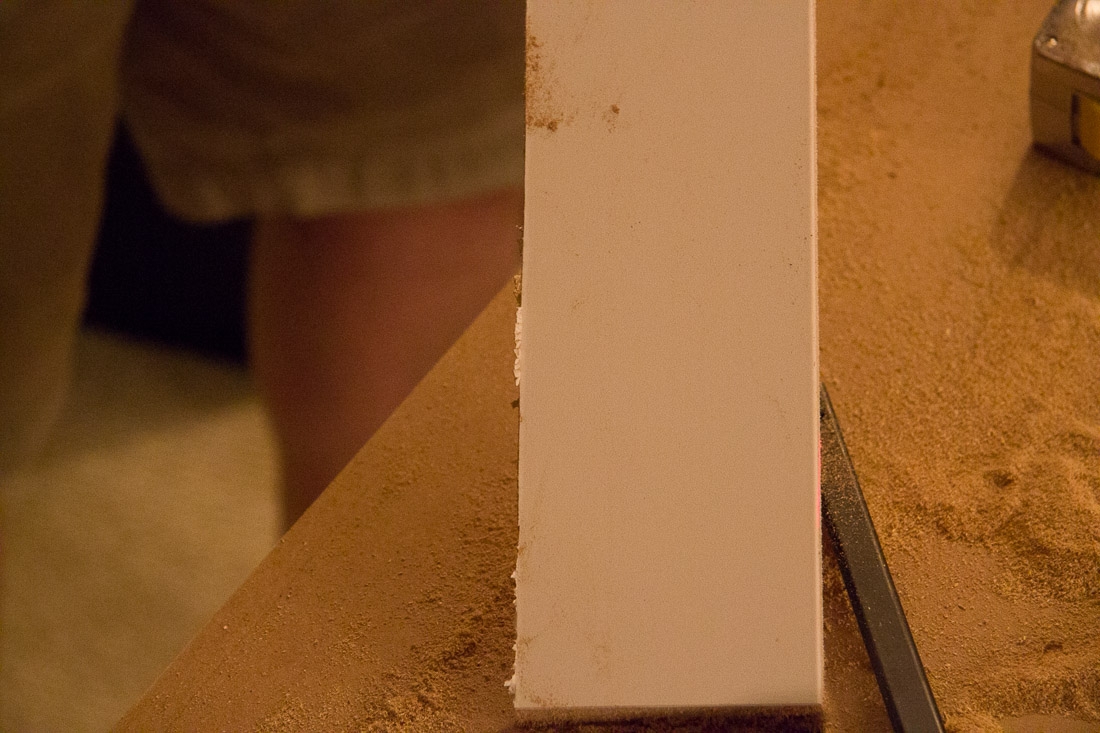
You’ll notice that the cut was not the cleanest cut in the world, but since it would be hidden, we didn’t really mind.
We made sure the cut toe kick fit, then we repeated cuts for each of the four toe kick pieces we would need.
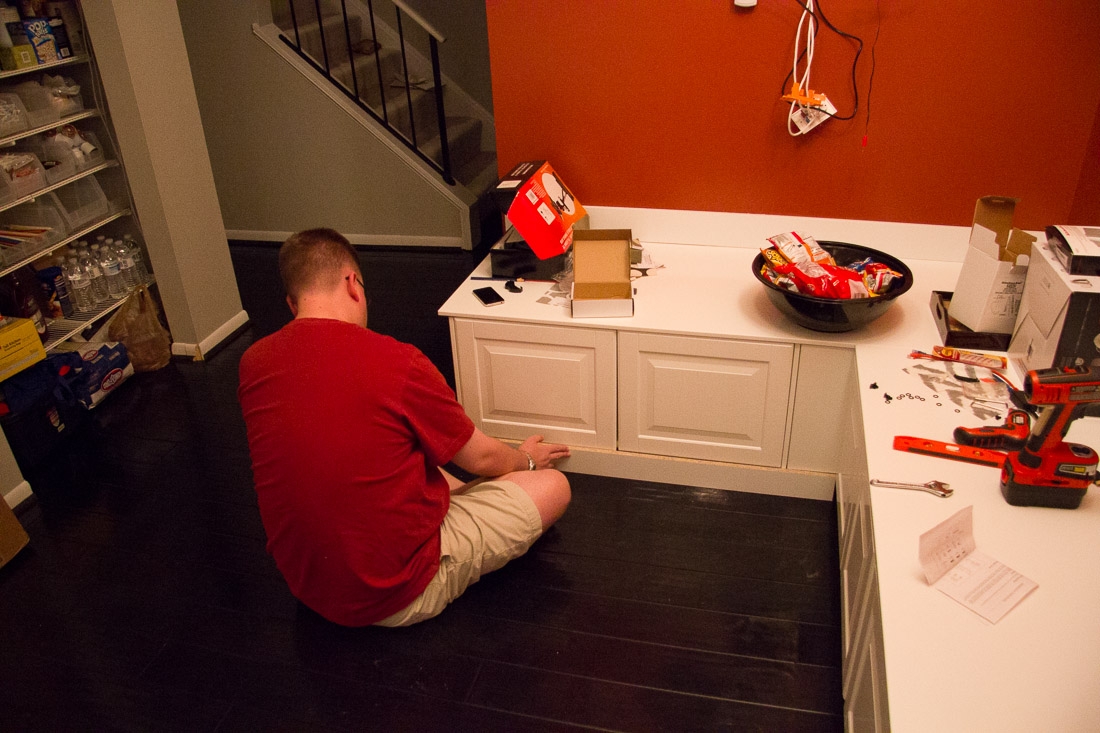
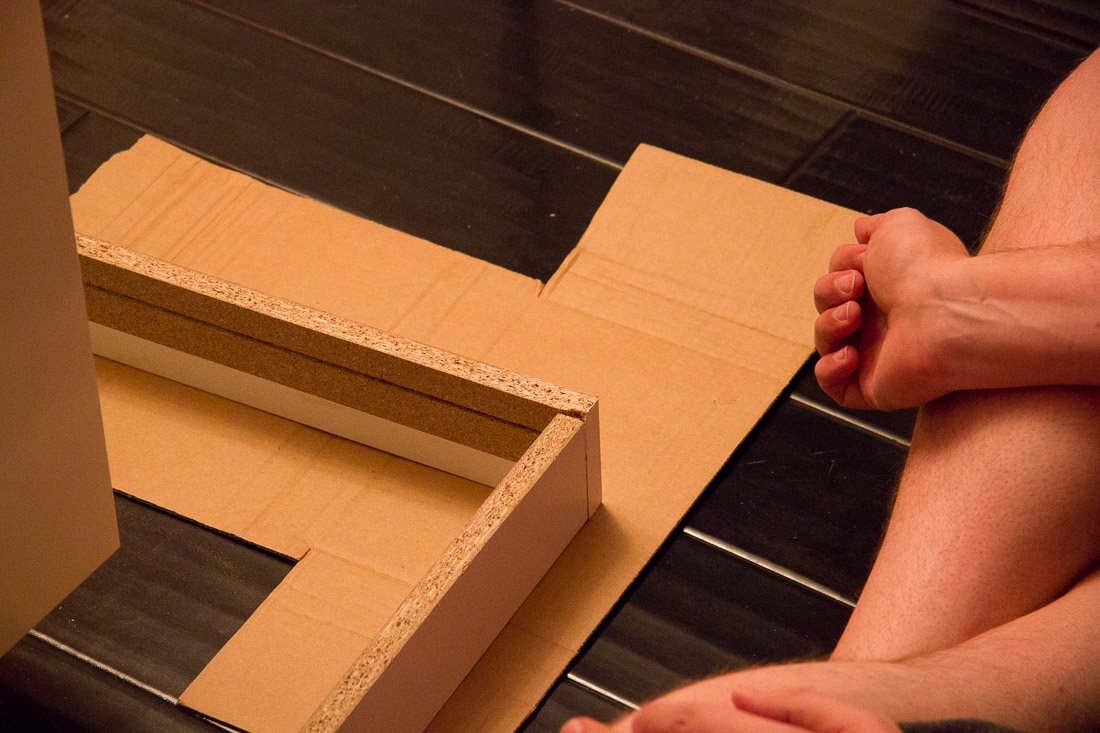
Then we placed the toekick, and repeated it for all the edges. We did not attach the toekick to the banquette or frame. Instead, we just created a sturdy “L shape” with the toe kick pieces and placed it around the frame.
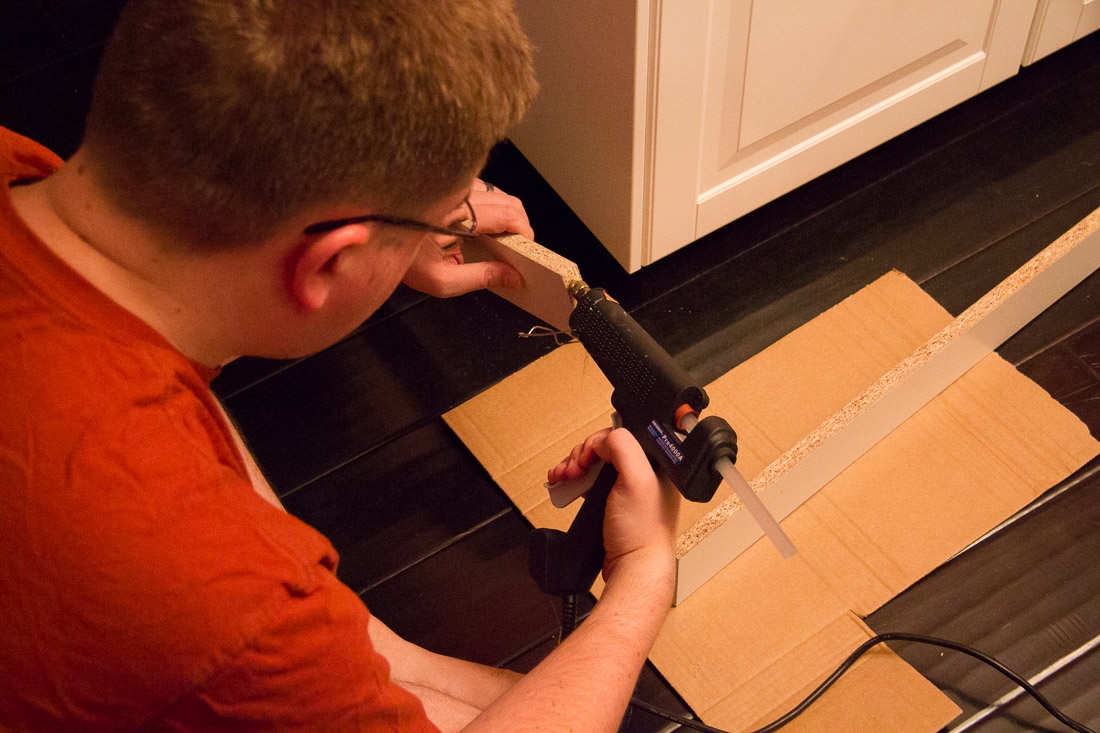
We originally hot glued the edges together, but that didn’t work well at all. The glued pieces came apart within about two weeks. Instead, we recommend using something like this to attach the toe kick pieces in an L shape.
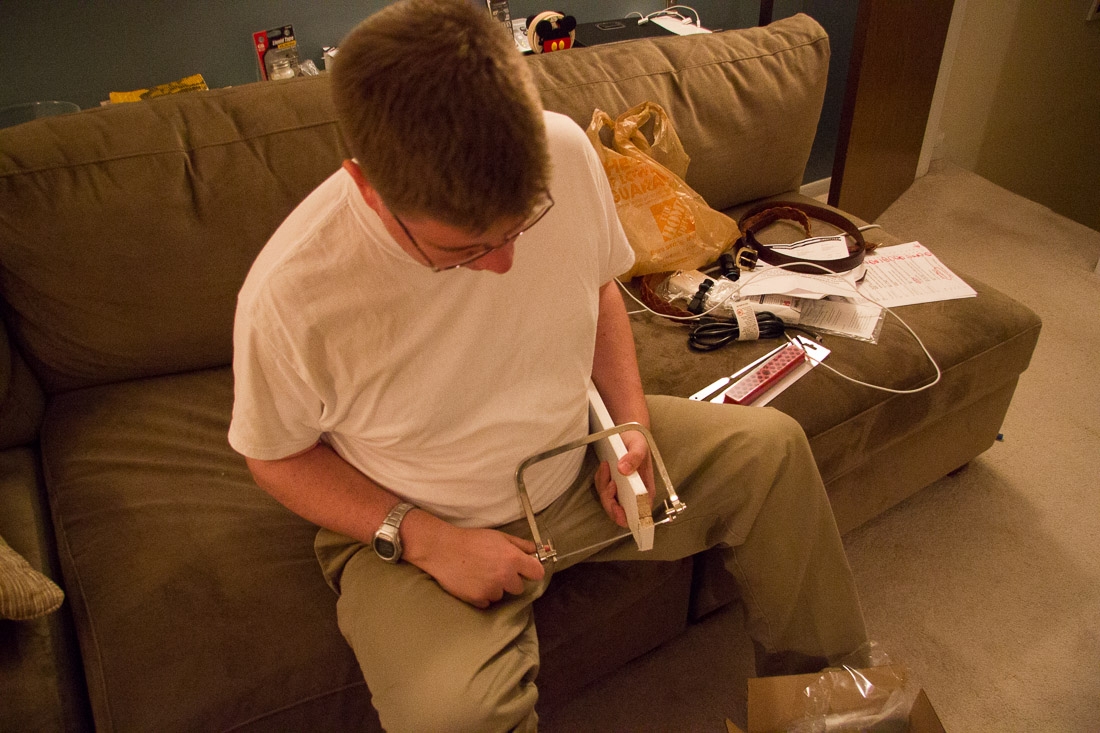
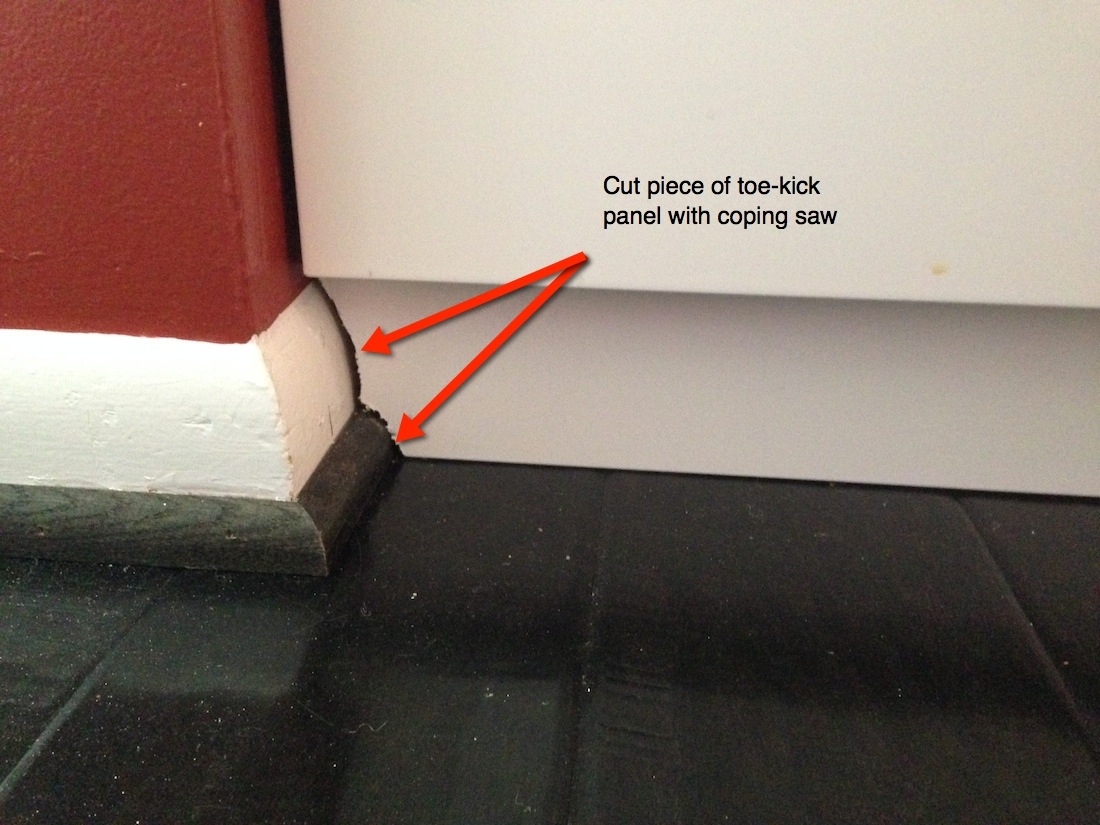
We have base moulding as well as shoe moulding (quarter round) in our kitchen. So, using a coping saw, we cut out some pieces of the toe kick so that it would fit flush against the wall.
Top Trim Piece
We don’t have any pictures for this next part. I was out of town for the weekend and Ken was feeling ambitious, so he did this without me around and he forgot to photograph the process!
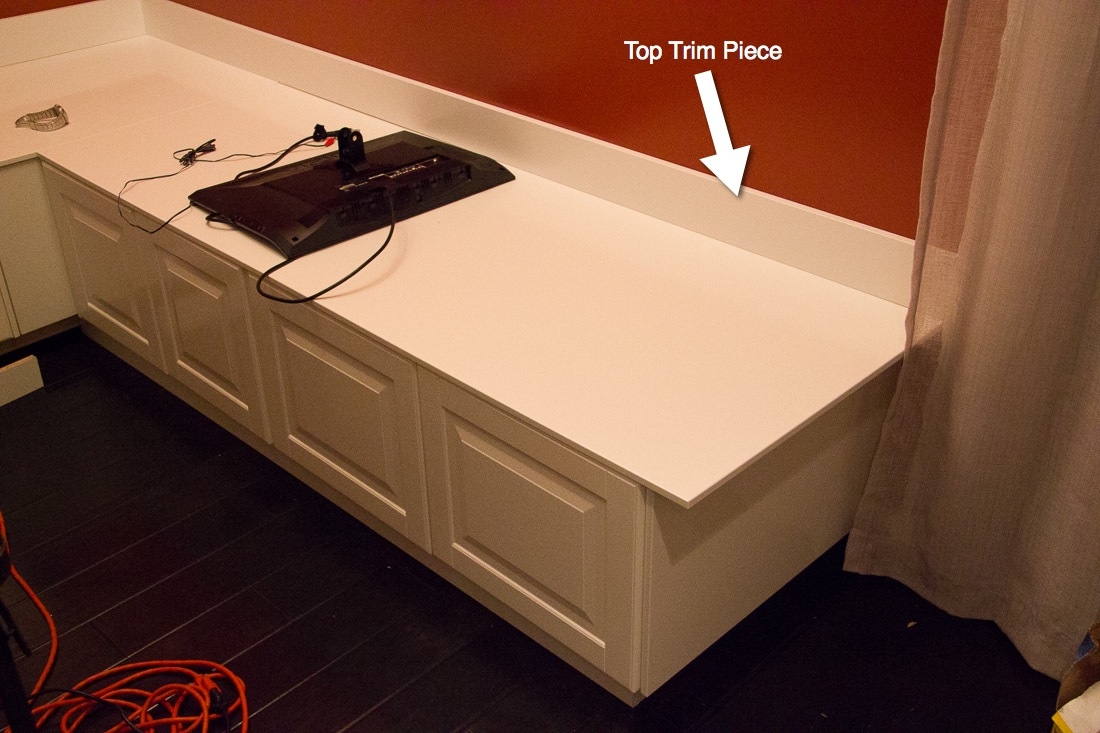
For a more finished look, we wanted to add a top trim piece, which is pictured here.
He cut another Ikea Perfekt Panel and simply affixed the trim to the wall using Command Mounting Strips. . The trim is not actually attached to the banquette part, but it is directly above it, so the mounting strips really aren’t holding that much weight. It’s mostly to prevent the trim piece from tipping forward.
Future phases?
And that was about it! We took advantage of our new storage and put some items in the bench. In the future, we may try to caulk some of the small seams between some of the more visible pieces, like the two top panels and the top trim pieces, but for right now we’re happy with it as-is.
We also may explore making (or buying) cushions for the banquette. I’m not exactly a seamstress, so it seems pretty overwhelming to make fancy custom size cushions, but I might give it a whirl someday.
DIY Kitchen Seating Banquette Bench from Ikea Cabinets - Building a Frame for a DIY Banquette
- Building Seating Supports for DIY Banquette
- Spacing our DIY Ikea Banquette Cabinets
- DIY Banquette Kitchen Bench – Finishing Touches
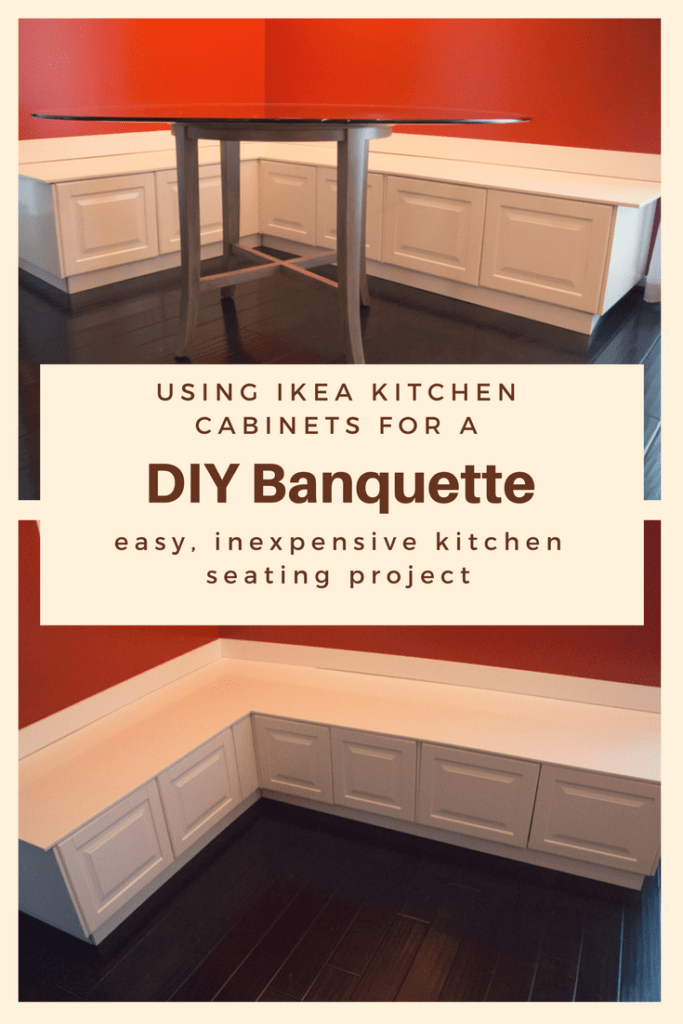
There you have it. All about our DIY Banquette Kitchen Bench Seating we made using Ikea upper cabinets. We’ll have a few other posts, including a list of some of the key tools we used, as well as an “outtakes” post, which outlines all the things that went wrong during the process.

3 comments
[…] I covered more posts about our DIY banquette, including adding seating supports, how we spaced our banquette, and the finishing touches. […]
Love your bench seating and thanks for posting. We are getting ready to do a similar project, and I don’t see posted anywhere about securing the cabinets to the frame or wall. Did you screw the cabinets to the bottom frame? Did you secure the cabinets or the frame to the wall?
You did a beautiful job here! We did an almost identical project in our kitchen, though our corner is smaller & therefore only able to seat 4 people. Due to the difference in dimension, no cabinets worked for our space, so we framed the whole thing & used cover panels all over the frame. Our kitchen cabinets are IKEA’s Edserum, so I ended up using the brown Edserum toekicks on the outside of the cover panel to replicate the Shaker style cabinet door so that it was congruent with the rest of the kitchen. Since ours weren’t cabinets, we don’t have cabinet doors that open outwards like yours. Our seating is like boxes, & we used a hinge along the wall edges, & the cover panel on top (which we sit on) opens upwards like a lid.
Now we have extra pantry space for heavy items like big bags of rice, jars of sauces, drinks, & also for consolidating empty beer cans & wine bottles before they’re bagged up for return. I love all the extra space!